

Hipped roof trusses form more than a row of identical frames. The package usually combines standard trusses with girders, diminishing trusses, hip components, loose infill and project-specific metalwork. Understanding that system helps housebuilders coordinate approvals, lifting and installation more effectively.
How hipped roof trusses create the roof form
A hip slopes from the ridge towards an external corner, replacing the vertical triangular gable on that elevation. The structural arrangement must support roof loads while creating the required planes for battens and coverings. A girder or other principal component often collects reactions from the diminishing trusses and transfers them to designed bearings.
The exact arrangement depends on span, pitch, overhang, roof covering, building geometry and support locations. That is why a visual sketch alone cannot define a hipped package. Our designers model the project information and produce a coordinated layout for approval.
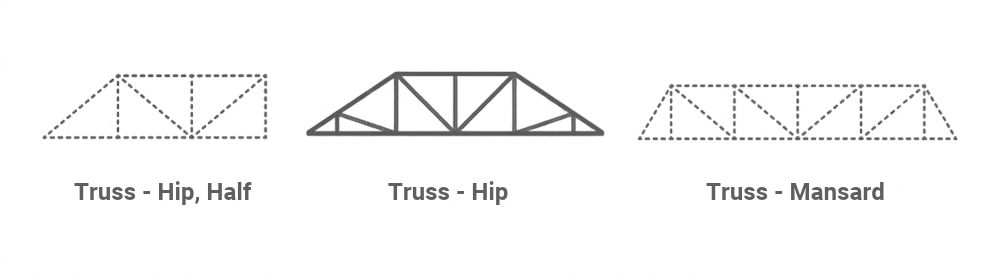
Key components within a hipped truss package
- standard trusses that establish the main roof zones;
- girder trusses designed to receive additional reactions;
- diminishing trusses that reduce in height towards the hip end;
- hip or corner details that form the sloping roof intersection;
- loose rafters, ceiling infill or noggings where the geometry requires them;
- specified clips, straps, shoes and fixings.
Each item has a role. Multi-ply girders may need to be connected in a stated way, and supported components need the specified bearing or hanger. Installers should follow the approved layout and details rather than substituting familiar site methods.
Design information that improves the result
Issue dimensioned plans, elevations and sections. Confirm wall-plate levels, pitches, overhangs, soffit lines and ridge positions. Identify steps in the building, chimneys, roof windows, valleys and adjoining roofs. External appearance also matters; inconsistent eaves or poorly coordinated ridge heights can become visible quality defects.
Support information needs equal care. Mark load-bearing walls, beams and lintels and ensure the building designer verifies the structure below. If a girder reaction lands over an opening or an unplanned area, the wider design team needs time to resolve it.
Plan lifting and installation around the package
Sequence matters. The site team should identify principal trusses and understand which components depend on them. Prepare stable storage, suitable lifting equipment, temporary restraint and permanent bracing materials before erection. Larger or heavier girders may require a different lifting approach from standard trusses.
Do not separate labels from components or mix bundles between plots. A clear plot-by-plot plan reduces handling and helps the right component reach the right position.
Why factory manufacture supports complex geometry
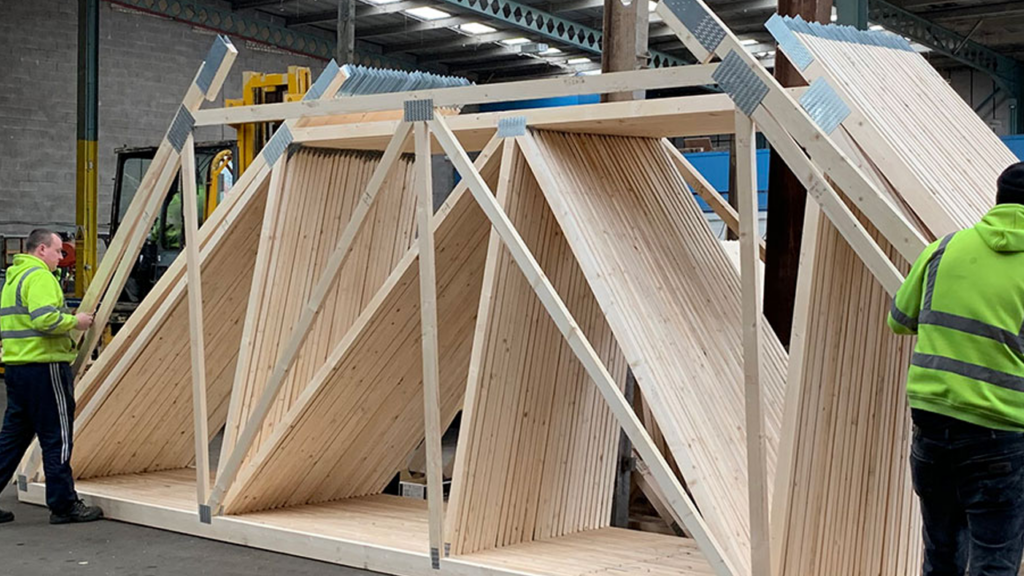
Controlled cutting and assembly allow engineered components to arrive made for the approved layout. Digital design information supports repeatability across house types while still accommodating project-specific geometry. This can reduce the amount of complex cutting and jointing required at roof level.
Explore our roof trusses and see how our planning, production and dispatch teams turn approved designs into site-ready packages.
Coordinate appearance and interfaces
Hipped roofs often appear on prominent corners and street scenes, so small geometric differences can be visible. Agree fascia depths, soffit widths and eaves lines across adjoining elevations. Where several roof zones meet, sections and three-dimensional views can help the design team understand the intended external planes.
Rainwater goods and roof drainage need space at the same edges. Coordinate gutters, outlets and any valley discharge without assuming the structural package will absorb an unplanned notch or support. Likewise, scaffold positions and lifting access should reflect the hip components and the sequence in which they become stable.
For repeated plots, maintain a controlled schedule of handed and mirrored versions. A mirrored architectural plan does not always translate into a simple manufacturing mirror if supports, openings or adjoining roofs change. Identify each variant clearly before approval and keep plot references attached through dispatch.
A coordinated roof plan should also identify where masonry peaks, gable panels or other off-site elements meet the hip construction. Clear interface ownership avoids gaps between packages and prevents one supplier from assuming that another will provide a loose timber or connection.
During approval, review both plan and section. The plan explains component positions, while the section confirms levels, ceiling relationships and external form. Using both views gives site teams a stronger reference when checking the first completed plot.
Bring the hip detail into the project early
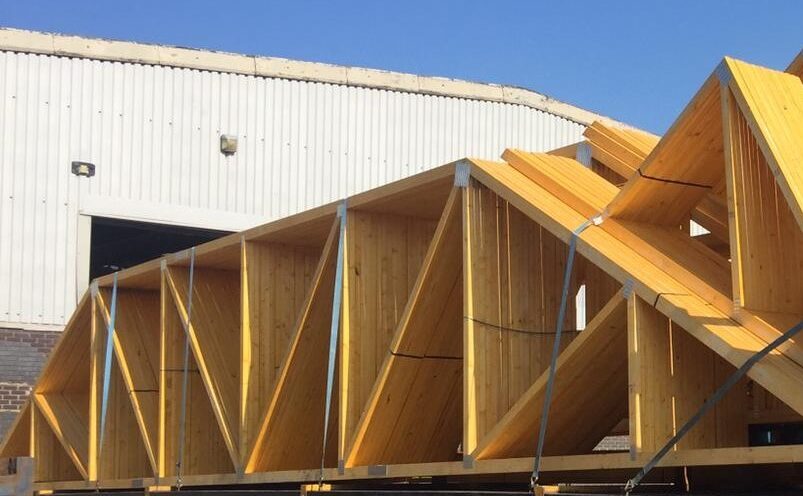
A hipped roof can deliver an attractive, robust form, but it relies on more interfaces than a simple gable-to-gable roof. Early design engagement gives the team space to coordinate supports, elevations, openings and build sequence before manufacture.
Send your latest drawings to Nuneaton Roof Truss for a project-specific quotation.
Call: 02476 327722, Email: info@nuneatonrooftruss.co.uk, or visit our get-a-quote page.